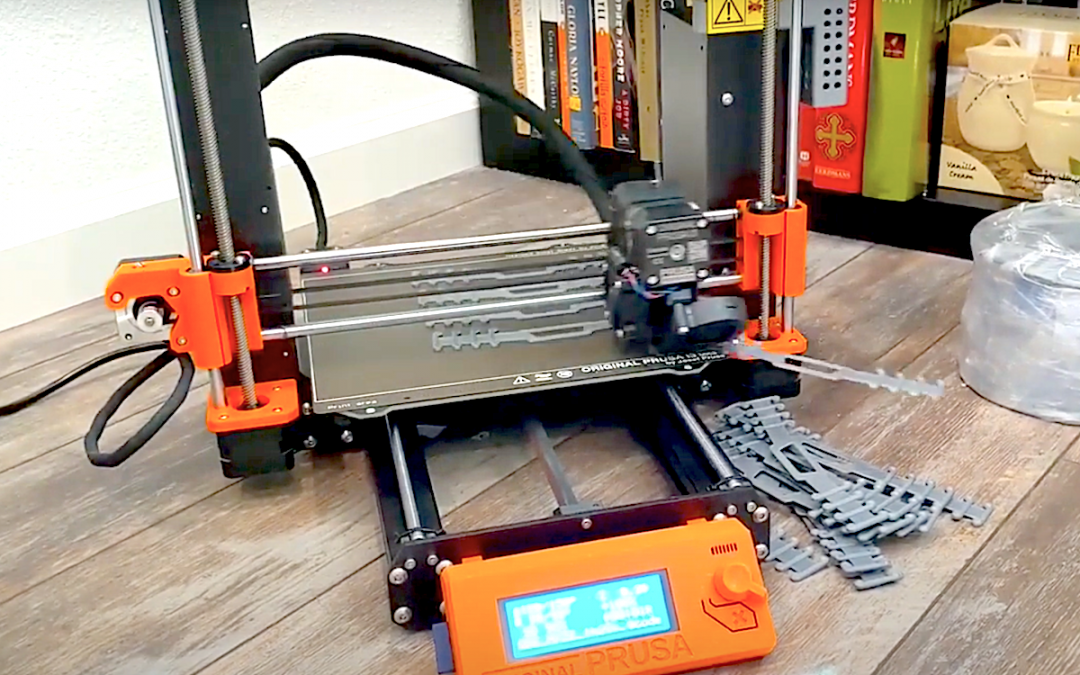
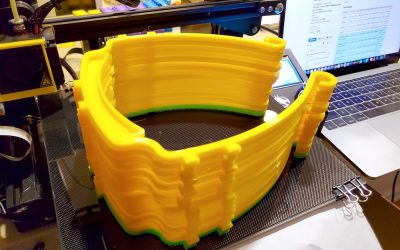
Interested in Fully Automating your Ear Saver Production on your Prusa MK3S Printer? The below steps will help guide you towards your quest for a fully automated ear saver production using Steven Phung’s approach which doesn’t require any alterations to the ear saver prints.
WARNING: This solution may cause damage to your 3D printer. Use at your own risk. This document is for informational purposes only in no way shall be interpreted or construed to create any warranties of any kind, either express or implied, regarding the information contained herein.
Items Needed
- Prusa MK3S
- PEI Spring Steel Plate
Step 1: Layout ear savers
In order to have repeatability and be able to eject our prints off the bed we need to layout the ear savers in a uniform way with ample and consistent spacing. When we eject ear savers off of the bed by pushing them with the extruder head we don’t want them to touch other ear savers, ever. Any type of contact between ear savers will cause chaos down the line as your ejection routine continues. A consistent amount of spacing is recommended because it makes the math easier when you are writing and tuning your ejection code as we’ll see later.
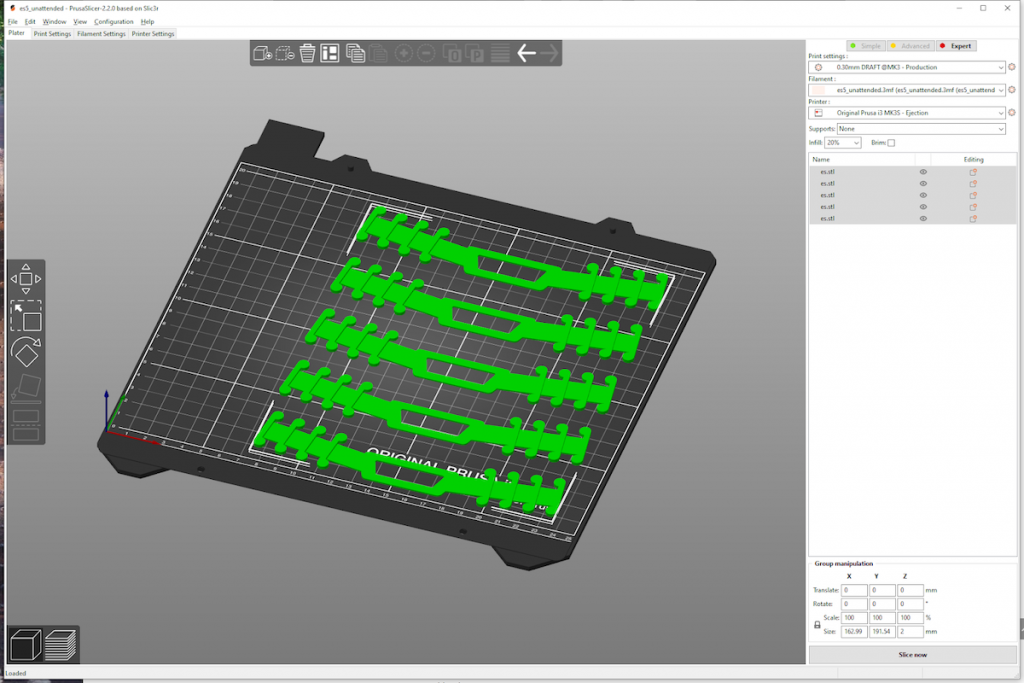
In the screenshot below in PrusaSlicer, five ear savers are spaced out on the right side of the print bed. While we can fit six, the amount of clearance did not seem like it would be enough. The ear savers are laid out on the right side so that the extruder has plenty of room to lower in Z without hitting an ear saver prior to pushing it off the print bed.
Step 2: Print repeatability
From this point, I would highly recommend printing a few runs of these or calibrating your printer if you aren’t confident that your success rate will be reasonably high. There can be a lot of headache with trying to automate too soon prior to doing this.
Step 3: Find where to add “end g-code”
Once you’re comfortable with your printer repeatability we need to write the g-code to do the automatic ejection for each ear saver. This g-code will need to run at the end of every iteration of your g-code but for now we’ll focus on getting this working once.
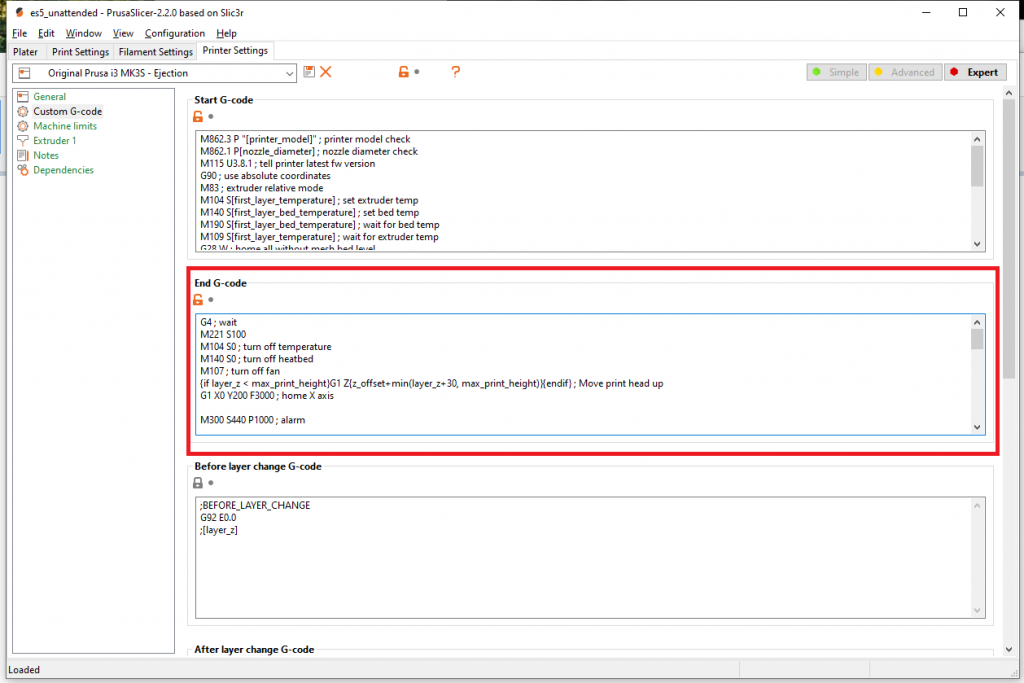
In your slicer, you typically have an option where you can put g-code that runs after your print completes. This section contains code that homes your axes, turns off your extruder temperature, and more. Below is where the section is in PrusaSlicer with expert mode turned on.
Step 4: Wait for the bed and extruder to cool
Before we do anything with pushing the ear savers around, we’ll want to wait for the extruder and print bed to cool to certain temperatures. This is important because we want to reduce the adhesion that our prints have to the bed. For my prints, I use ABS because the adhesion to the print bed reduces drastically with bed temperature.
For an MK3S the relevant M codes are M190 for the bed temperature and M109 for the extruder temperature. Below, we wait for the print bed to drop to 90C and the extruder to 150C. These settings will be different for you depending on the materials you use and need to be determined experimentally. In general. start low for the safest results and work your way up to reduce the time spent waiting.
| M190 S90 ; wait for bed temp M109 S150 ; wait for extruder temp |
Step 5: Write the g-code for the first ejection
At this point we’re at a stage where we should be able to push our ear savers off of the print bed. It is a good idea to test the adhesion of the ear saver to the print bed yourself before you ram your extruder into it for safety. You can do this just by trying to slide one off the print bed using your hands as well as by jogging the extruder into one. It should require little to no effort to release the print off the bed.
The way that we’ll accomplish this is using the following simple algorithm.
- Move the extruder x so that it safely clears the left side of all of the ear savers.
- Lower the extruder z so that it is close enough to the bed to contact the ear savers
- Move the extruder y so that it would contact the front-most ear saver only
- Move the extruder x all the way to the maximum
- Move the extruder x back to where it was previously
We will use the G1 command to move the extruder. G1 is a command that allows you to move the extruder in X, Y, and Z. Implementing the algorithm above turns into the following g-code.
- G1 X40 F12000; move the extruder to x=40 to align the extruder on the x-axis
- G1 Z0.2 F3000; move the extruder to z=0.2 to lower the extruder
- G1 Y34 F12000; move the extruder to y=34 to align the extruder on the y-axis
- G1 X250 F12000; move the extruder to x=250 to push the ear saver off the print bed
- G1 X40 F12000; move the extruder to x=40 to go back to where we started
In the g-code above based on how I’ve laid out my ear savers this is what I had to know.
- X=40 clears the right side of the extruder with the left side of the ear savers
- Y=34 will align the extruder in y to push the first, front most ear saver
- Z=0.2 is low enough for the extruder to be able to push an ear saver off the print bed
The best way to determine these values is experimentally by printing these once, leaving them on the bed, homing the axes, and jogging the extruder yourself.
Step 6: Write the g-code for the rest of the ejections
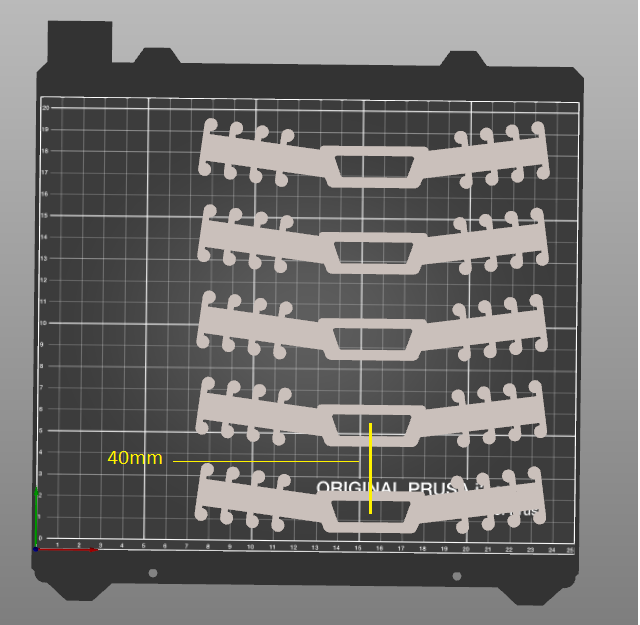
Once we’ve pushed the first ear saver off of the print bed, the other four are fairly straightforward. When we spaced out the ear savers on the print bed we kept a constant amount of spacing between them on the y-axis. In my case, the ear savers are all 40mm apart center to center.
With this information all we need to do is the same thing we did previously but adjusted by 40mm in y. For the second ejection it would look like the following. (Note that this only requires three commands since z has already been lowered and we are in the right position in x from the first ejection above.)
- G1 Y74 F12000; move the extruder to y=74 to align the extruder on the y-axis for the second ear saver
- G1 X250 F12000; move the extruder to x=250 to push the ear saver off the print bed
- G1 X40 F12000; move the extruder to x=40 to go back to where we started
From this point on, you can do the other three ejections by increasing y further to 114, 154 and 194. In our example it was 40mm but if your spacing is different then the value will change.
Once you’ve made it this far, you should run this a few times and ensure that this works well. If you run into failures which you inevitably will then take it slowly and work on isolating each particular problem before moving on. Next, we’ll look at how to run this code continuously.
Step 7: Running your printer continuously
The easiest way I’ve found to run code continuously is to copy and paste the code a number of times based on many iterations you want it to run. It’s not the most graceful way but it does work.
When you’re running code this way you should change a few settings if you haven’t.
- If you do a purge line in your g-code start script, you should only do it on the first iteration so that you don’t build up filament in the same location with each successive run.
- Don’t use a skirt.
- Turn on crash detection if you don’t have it on. If anything happens while you’re not away you want the printer to stop.
If you made it this far, you should have the tools you need to design your own scheme that is different and even better than the one above for not just ear savers but other things that you make.
Enjoy the process!
SEE MORE FROM THE OPERATION MAKE
RESEARCH & DEVELOPMENT TEAM
Continuous Print Queue: An Easier Solution to 3D Printing Automation
Looking for an easier solution to Fully Automating your Face Shield Production on your 3d Printer? Check out Paul GOddard’s Continuous Print Queue plugin for OctoPrint …
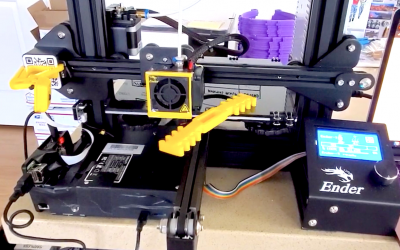
Ender 3 Ear Saver Automation
Have an Ender 3 and interested in Fully Automating your Ear Saver Production? The below steps will help guide you towards your quest for a fully automated ear saver production…
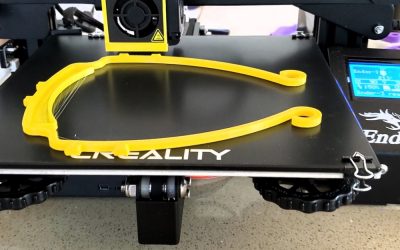
Ender 3 Face Shield Automation
Interested in Fully Automating your Face Shield Production on your Creality Ender 3 Printer? The below steps will help guide you towards your quest for a fully automated face shield production…
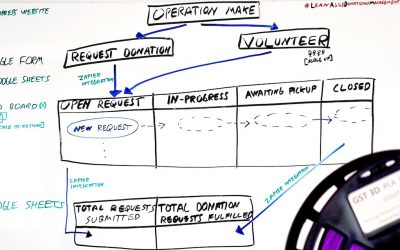
Implementing a Lean Agile Donations Management Framework
The purpose of this white paper is to discuss how to implement a Lean Agile Donations Management Framework and the benefits it can help provide to organizations managing donation requests…
3D Printing Quickstart Guide
The goal of this 3D Printing Quickstart Guide is to help people new to 3D printing get started making PPE supplies as quickly as possible.
CALL TO ACTION
Calling all makers, techies, hobbyists, and all those looking to volunteer. Do you have supplies you’d like to donate to our local community heroes? Do you have a 3D Printer or are you interested in getting into 3D printing to help make supplies? Join the fight today and send it to the front lines!
Follow us for the latest news