Interested in an easier solution to Fully Automating your Face Shield Production on your 3d Printer? The below steps will help guide you towards your quest for a fully automated face shield production using Paul GOddard’s Continuous Print plugin for OctoPrint which doesn’t require any modifications to your g-code print files (like manually adding ejection code and copy and pasting your g-code dozens of times in the same file).
WARNING: This solution may cause damage to your 3D printer. Use at your own risk. This document is for informational purposes only in no way shall be interpreted or construed to create any warranties of any kind, either express or implied, regarding the information contained herein.
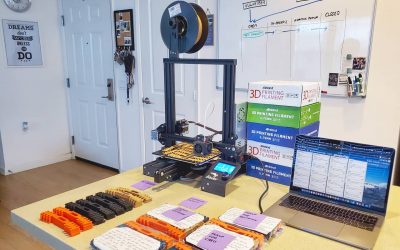
Items Needed
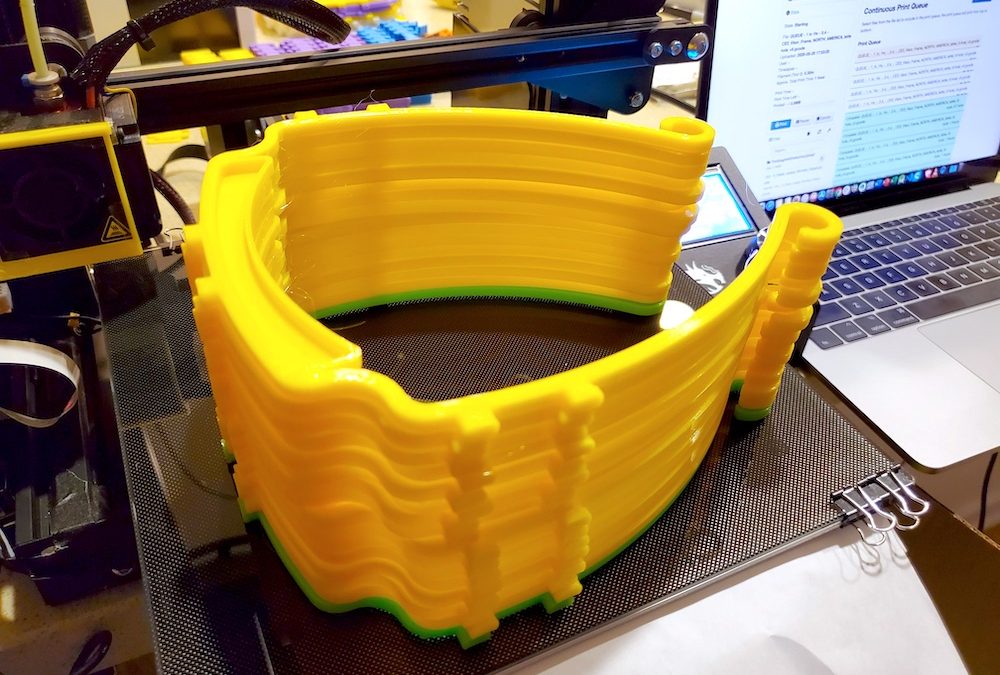
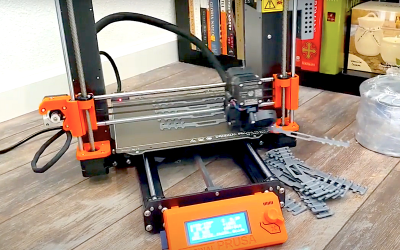
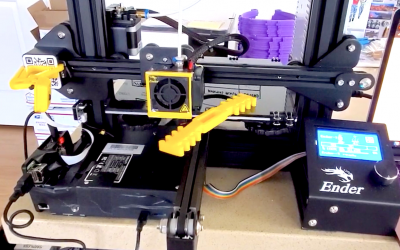
This automated solution was tested on a Creality Ender 3 Printer using OctoPi installed on a Raspberry Pi 4 Model B, but this solution should work with any 3d printer that supports OctoPrint. In this tutorial we will demonstrate how we fully automate the production of face shields, but you could apply this solution to any print.
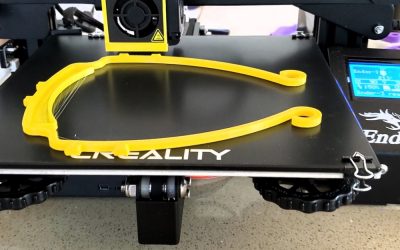
For the Face Shield print we use the g-code file found in our previous Ender 3 Face Shield Automation tutorial (see STEP 2: Slice Your Face Shield Model). For the Bed Cleaning Script, we use the g-code also found in our previous Ender 3 Face Shield Automation tutorial (see STEP 3: Add Print Removal Code to Face Shield G-Code).
- 3d Printer
- OctoPrint
- Continuous Print Plugin
- Working Bed Cleaning Script
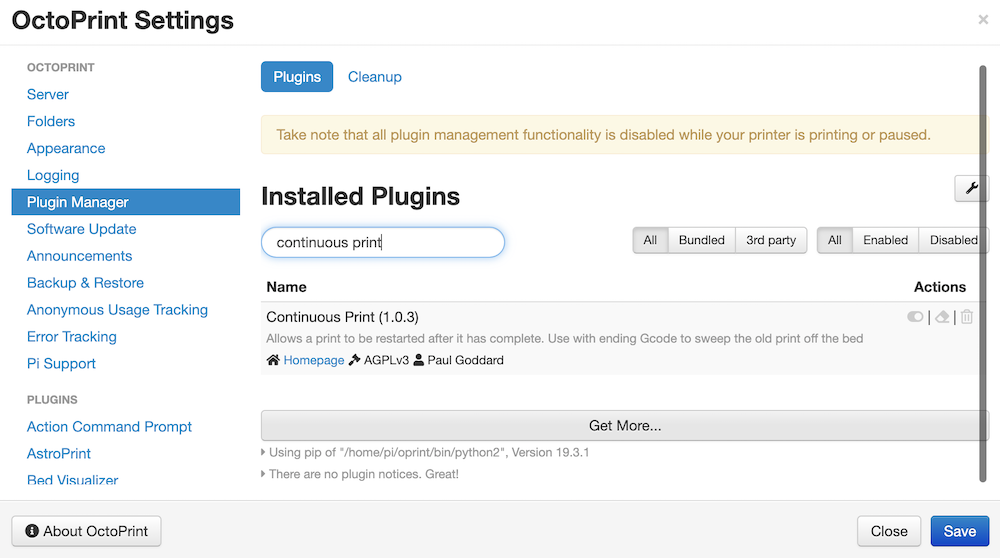
STEP 1: Install the Continuous Print Plugin in OctoPrint
Start by opening the Plugin Manager in OctoPrint Settings and search for “Continuous Print” after clicking on the Get More button on the bottom of the page. Once installed, you can proceed to configuring the plugin.
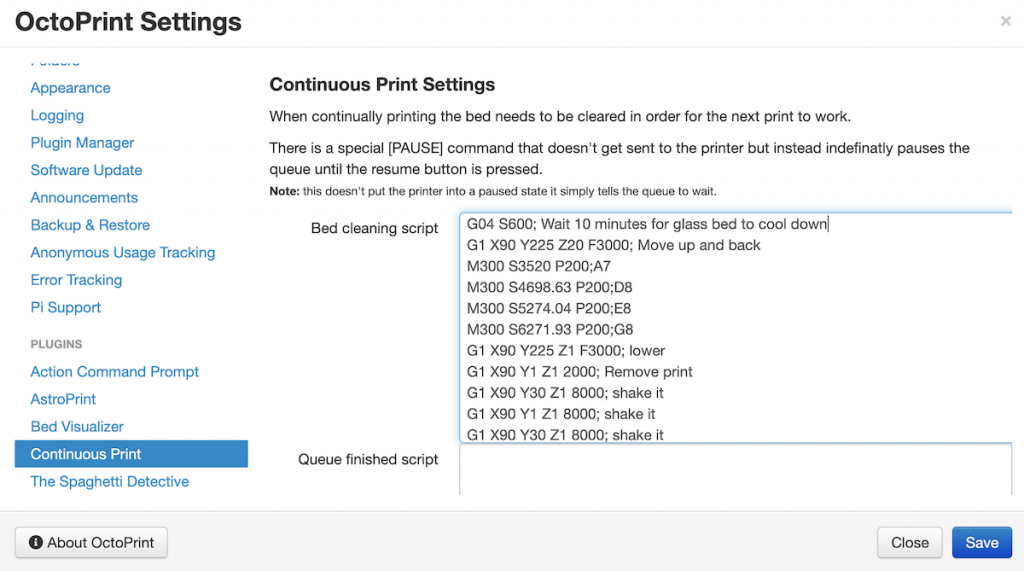
STEP 2: Configure the Plugin
Next we need to specify the Bed Cleaning Script which is automatically run after every print in the queue. Navigate again to the OctoPrint Settings and click on Continuous Print at the bottom of the page. You can use the default script that comes with the plugin, but in this example we use the custom script from our Ender 3 Face Shield Automation tutorial (see STEP 3: Add Print Removal Code to Face Shield G-Code). Copy over this script replacing all existing content in the Bed Cleaning Script section. You can also optionally add code in the Queue Finished Script section (ie. power off printer after all prints in the queue complete), but in this example we will leave it blank.
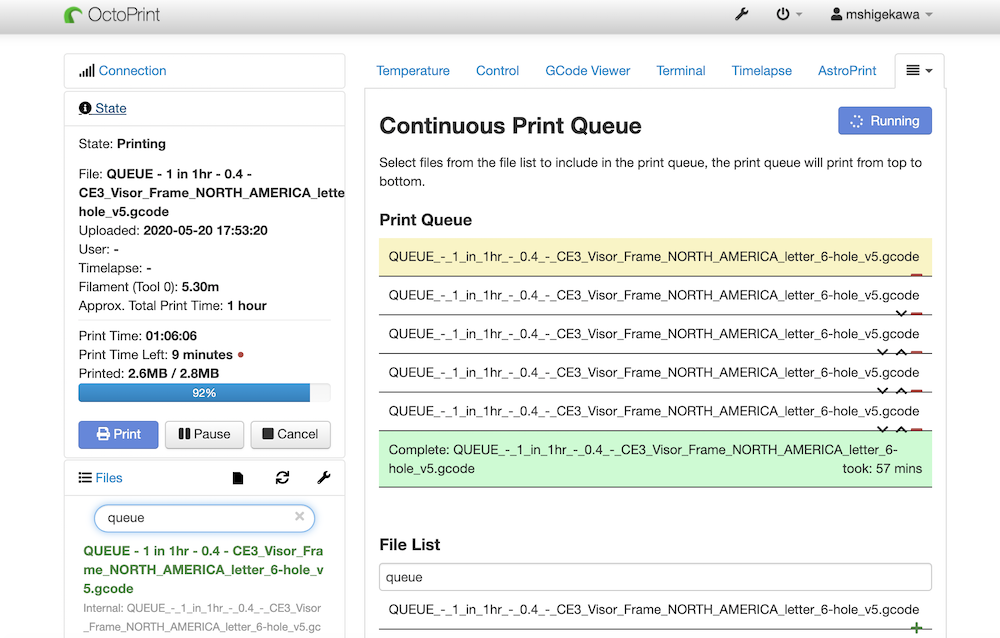
STEP 3: Add G-Code Files to Continuous Print Queue
After configuring the plugin, head over to the main OctoPrint screen and click on Continuous Print at the top. Here you can add the g-code files for the prints you would like to repeat. In this example, we once again use the file we created in the Ender 3 Face Shield Automation tutorial (see STEP 2: Slice Your Face Shield Model). It’s important to note that in this case, we didn’t have to modify the newly sliced face shield g-code file since the Continuous Print plugin automatically runs the Bed Cleaning Script that you specified in the previous step after every successful print in the queue.
Closing
At this point you probably realize that this solution for fully automating your 3d printing production is a lot simpler and cleaner than the old methods of hacking your g-code print files (like manually adding ejection code and copying and pasting the same code dozens of times in the same file). We hope this method helps you save time and creates less headaches on your journey for fully automated 3d printing production.
Enjoy the process!
Co-Founder operationMake.org
SEE MORE FROM THE OPERATION MAKE
RESEARCH & DEVELOPMENT TEAM
Prusa MK3S Ear Saver Automation
Check out Steven Phung’s optimized solution for automating Ear Saver production on his Prusa MK3S printer….
Ender 3 Ear Saver Automation
Have an Ender 3 and interested in Fully Automating your Ear Saver Production? The below steps will help guide you towards your quest for a fully automated ear saver production…
Ender 3 Face Shield Automation
Interested in Fully Automating your Face Shield Production on your Creality Ender 3 Printer? The below steps will help guide you towards your quest for a fully automated face shield production…
Implementing a Lean Agile Donations Management Framework
The purpose of this white paper is to discuss how to implement a Lean Agile Donations Management Framework and the benefits it can help provide to organizations managing donation requests…
3D Printing Quickstart Guide
The goal of this 3D Printing Quickstart Guide is to help people new to 3D printing get started making PPE supplies as quickly as possible.
CALL TO ACTION
Calling all makers, techies, hobbyists, and all those looking to volunteer. Do you have supplies you’d like to donate to our local community heroes? Do you have a 3D Printer or are you interested in getting into 3D printing to help make supplies? Join the fight today and send it to the front lines!
Follow us for the latest news